

AMICELLI DIY INVITATION CARD
A sweet surprise with your invitation!
Waldenbuch, July 2026
AMICELLI DIY INVITATION CARD
A sweet surprise with your invitation.
Waldenbuch, July 2026
AMICELLI DIY INVITATION CARD
A sweet surprise with your invitation!
Waldenbuch, July 2026
Difficulty: Easy
Preparation time: 15 min
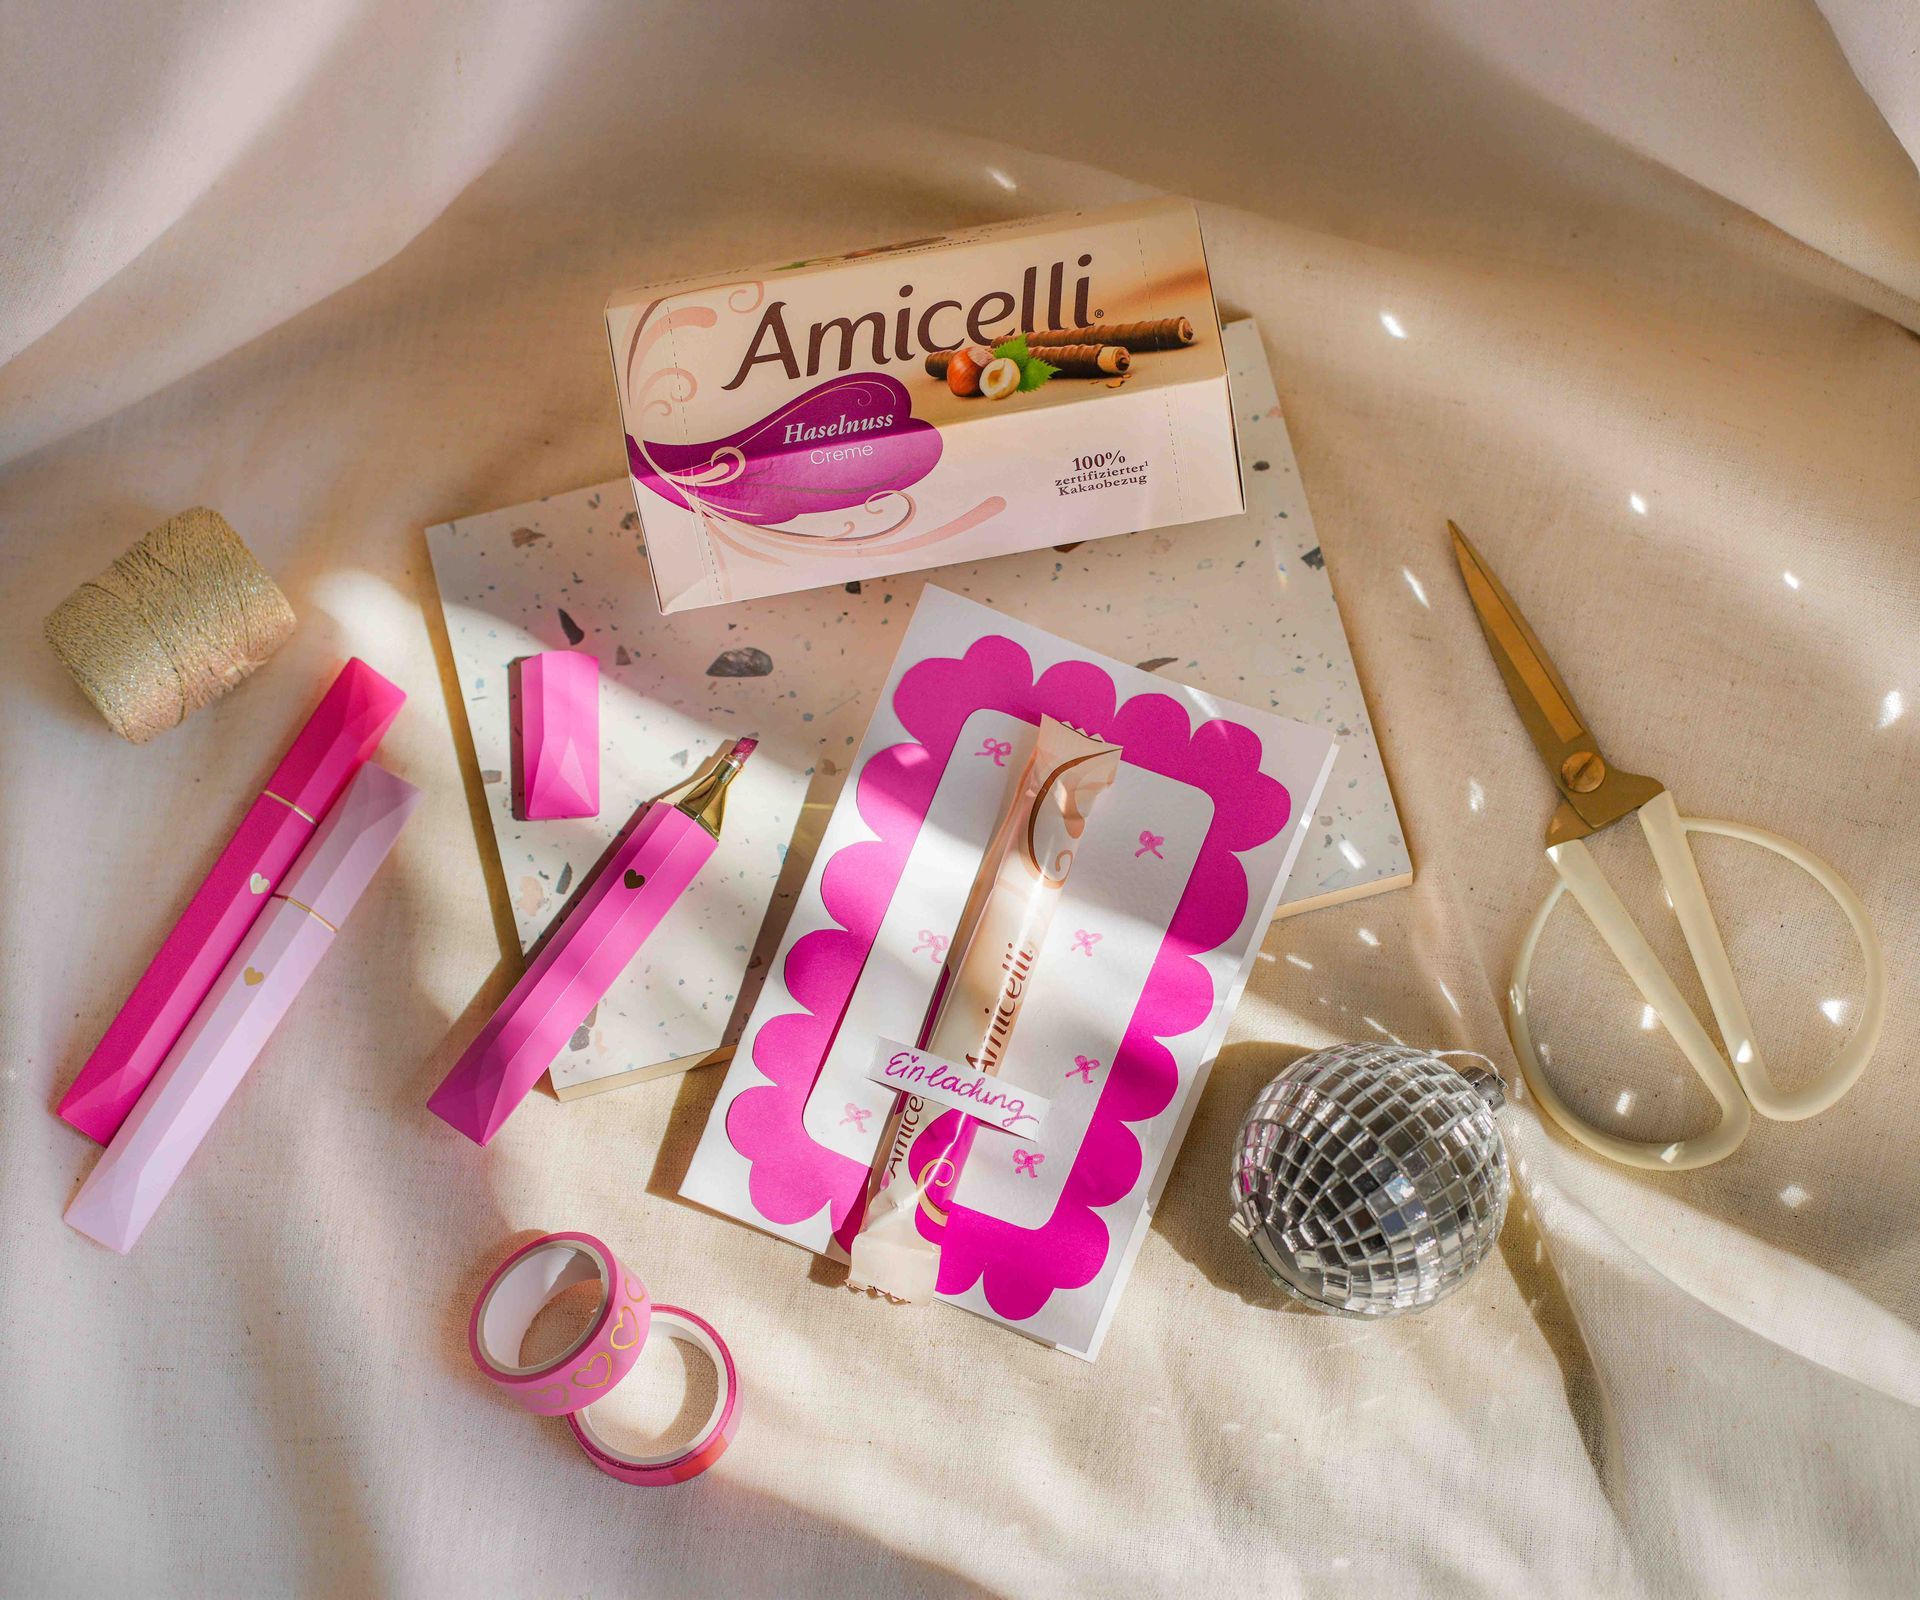
If you want to surprise your guests before the celebration even begins, this homemade invitation card is just the thing. The highlight is an Amicelli attached decoratively to the front of the card – a sweet little treat for your guests to enjoy.
With just a few materials, you can create an original invitation that’s perfect for birthdays, coffee get-togethers, family celebrations or any other special occasion. ✨
What you’ll need
- A blank folded card or cardstock
- Coloured paper in a colour of your choice
- Craft knife
- Ruler
- Glue
- Pens for decorating the card
- Amicelli
Here’s how:
- First, cut the cardstock to your desired size and fold it in half to create the base of your card. Next, cut a slightly smaller rectangle from pink coloured paper for the front. Round off the corners generously to give it a playful look, then glue the pink “frame” onto the front of the card.
- Next, cut a slightly smaller rectangle from white paper. This will form the background for the Amicelli and the lettering. Important: Don’t glue the white rectangle onto the card just yet, as you’ll need to prepare it in the next step.
- Position the Amicelli on the white paper exactly where you’d like it to sit on the finished card. Mark the points where the wrapper will be threaded through the paper, then carefully cut two narrow slits with a craft knife. Simply slide the Amicelli through the openings to secure it neatly to the front of the card.
- Now it’s time for the finishing touches. Add a short message such as “You’re invited” underneath the Amicelli and decorate the card with stamps, small illustrations or any other details you like.
And just like that, your DIY Amicelli invitation card is ready! Have fun getting creative – and inviting your guests.
Note: This blog article was created with the help of AI.
Difficulty: Easy
Preparation time: 15 min
If you want to surprise your guests before the celebration even begins, this homemade invitation card is just the thing. The highlight is an Amicelli attached decoratively to the front of the card – a sweet little treat for your guests to enjoy.
With just a few materials, you can create an original invitation that’s perfect for birthdays, coffee get-togethers, family celebrations or any other special occasion. ✨
What you’ll need
- A blank folded card or cardstock
- Coloured paper in a colour of your choice
- Craft knife
- Ruler
- Glue
- Pens for decorating the card
- Amicelli
Here’s how:
- First, cut the cardstock to your desired size and fold it in half to create the base of your card. Next, cut a slightly smaller rectangle from pink coloured paper for the front. Round off the corners generously to give it a playful look, then glue the pink “frame” onto the front of the card.
- Next, cut a slightly smaller rectangle from white paper. This will form the background for the Amicelli and the lettering. Important: Don’t glue the white rectangle onto the card just yet, as you’ll need to prepare it in the next step.
- Position the Amicelli on the white paper exactly where you’d like it to sit on the finished card. Mark the points where the wrapper will be threaded through the paper, then carefully cut two narrow slits with a craft knife. Simply slide the Amicelli through the openings to secure it neatly to the front of the card.
- Now it’s time for the finishing touches. Add a short message such as “You’re invited” underneath the Amicelli and decorate the card with stamps, small illustrations or any other details you like.
And just like that, your DIY Amicelli invitation card is ready! Have fun getting creative – and inviting your guests.
Note: This blog article was created with the help of AI.